The ultimate app to transfer music from iPhone to mac computer, and iOS file manager and explorer.
Transfer Files from iPhone to Mac Computer


Sometimes you may need to copy files between the iPhone and mac computer. For example, copy the photos taken by the camera to the computer for modification or backup, or save the data of a certain application for other purposes. While iTunes or the new Finder can't do this, iCopyAssistant was developed to solve this problem, making file copying between a computer and an iOS device simple and easy.
Plug your iPhone to USB port of mac computer, iCopyAssistant will try to recognize the iPhone. If this is the first time the iPhone is plug to your mac computer, you may need to trust the mac computer on your iPhone.
When the iPhone is successfully paired, you can browse and copy files. Click "Media Root" or "Apps" in the left side panel.
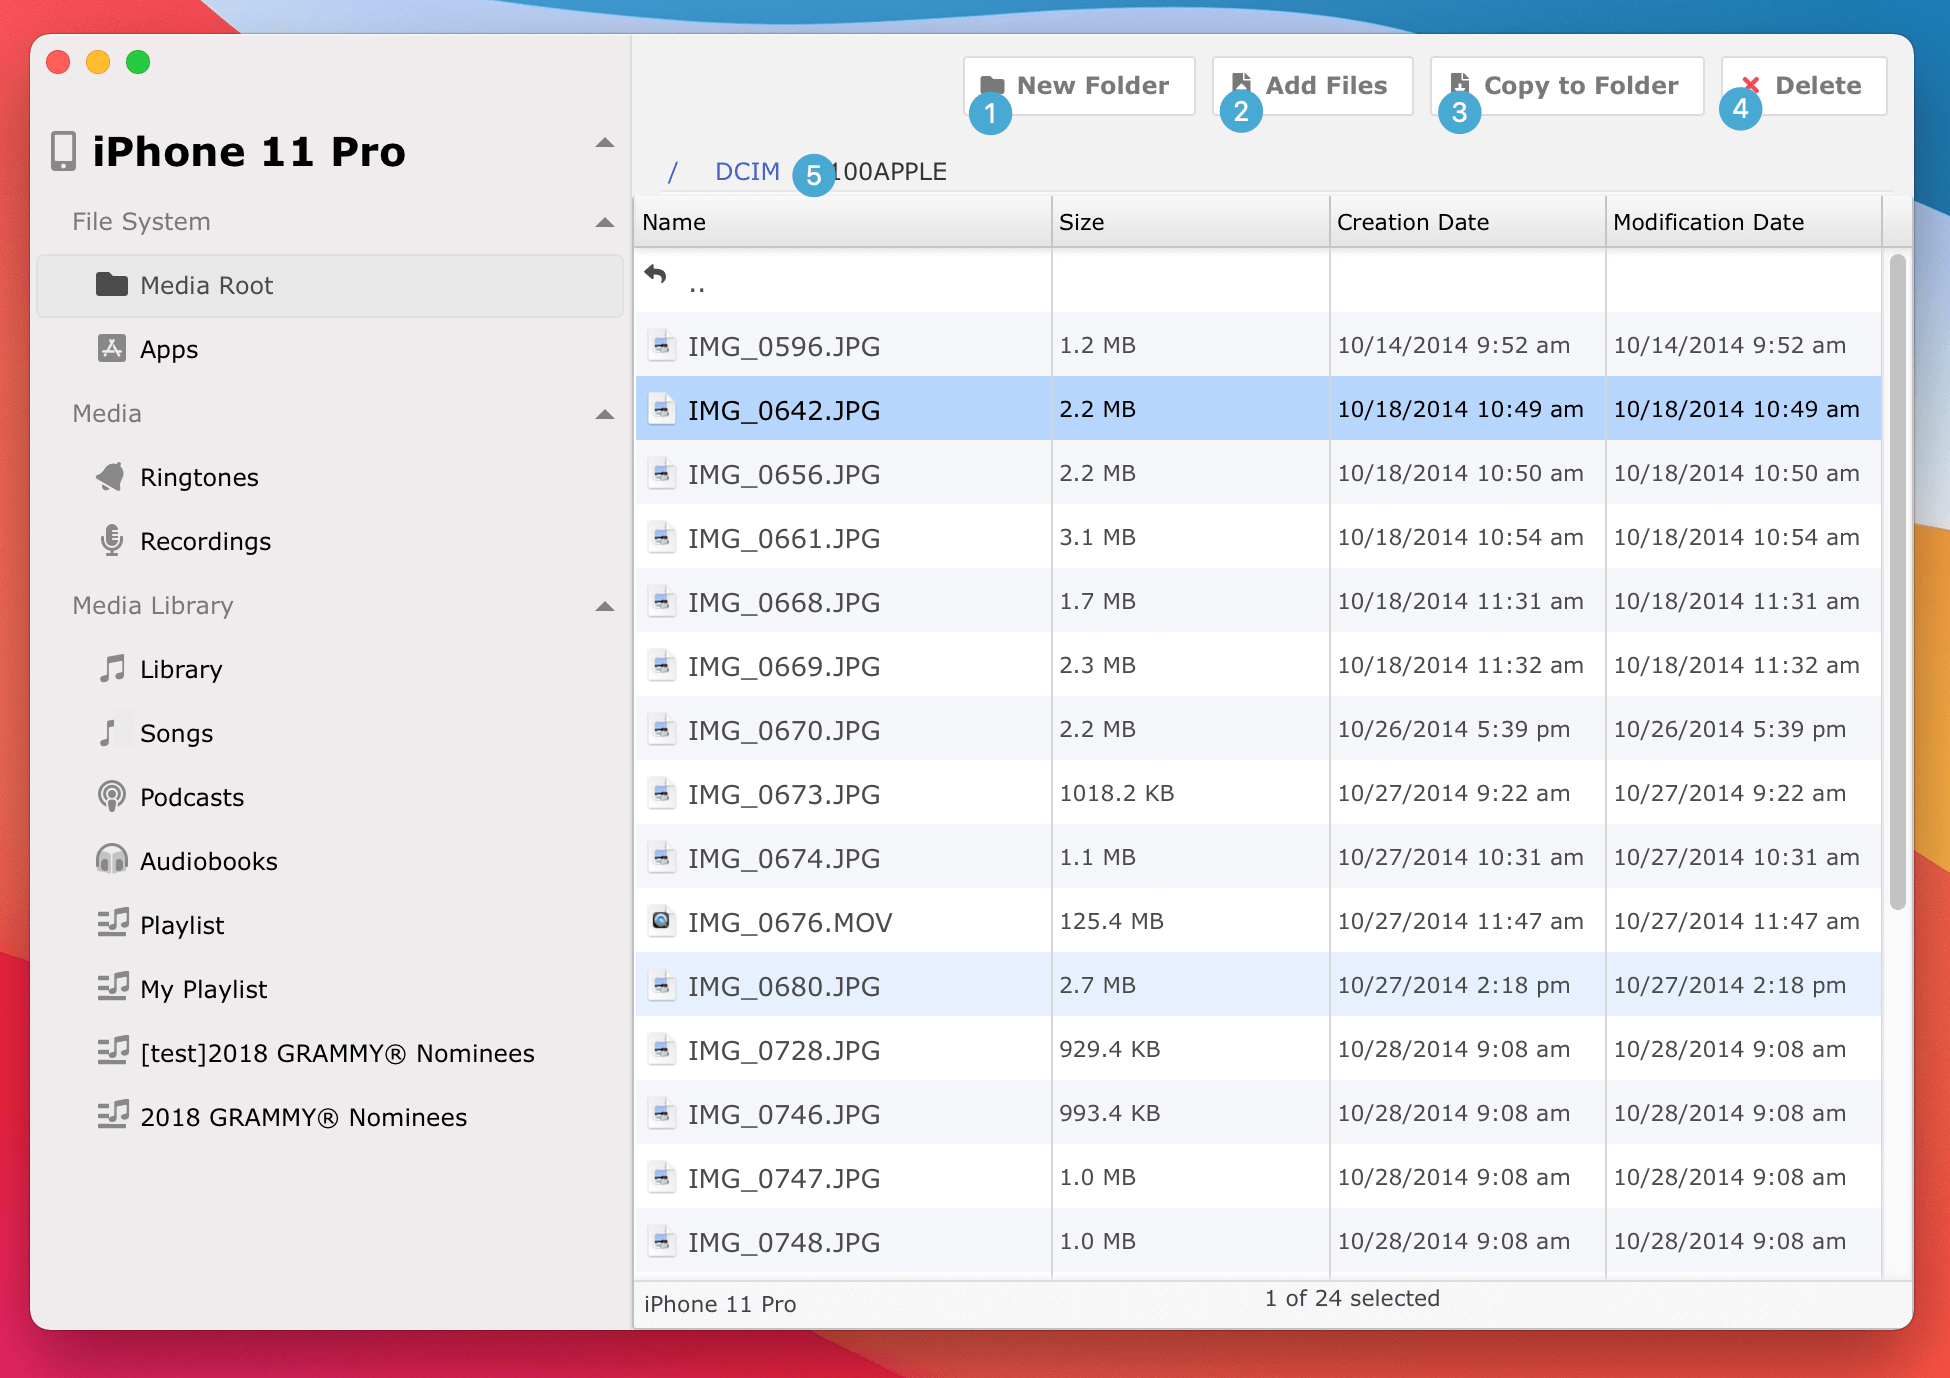
First let us get familiar with the user interface: : 1 New Folder - Make a new directory in current location on iPhone : 2 Add Files - Copy files from mac computer to the location on iPhone : 3 Copy to Folder - Copy selected files on iPhone to any location mac computer : 4 Delete - Delete currently selected folders and files. : 5 Paths - Full path of current location, click on any part to go to the upper folder.
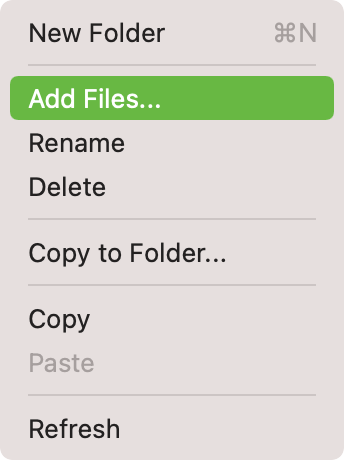
You can also complete more tasks through the context menu by right clicking in the files view.
Menu commands:
On iOS device, the document data can be read only if the app has File Sharing enabled. So, iCopyAssistant will not list all the Apps on iPhone.
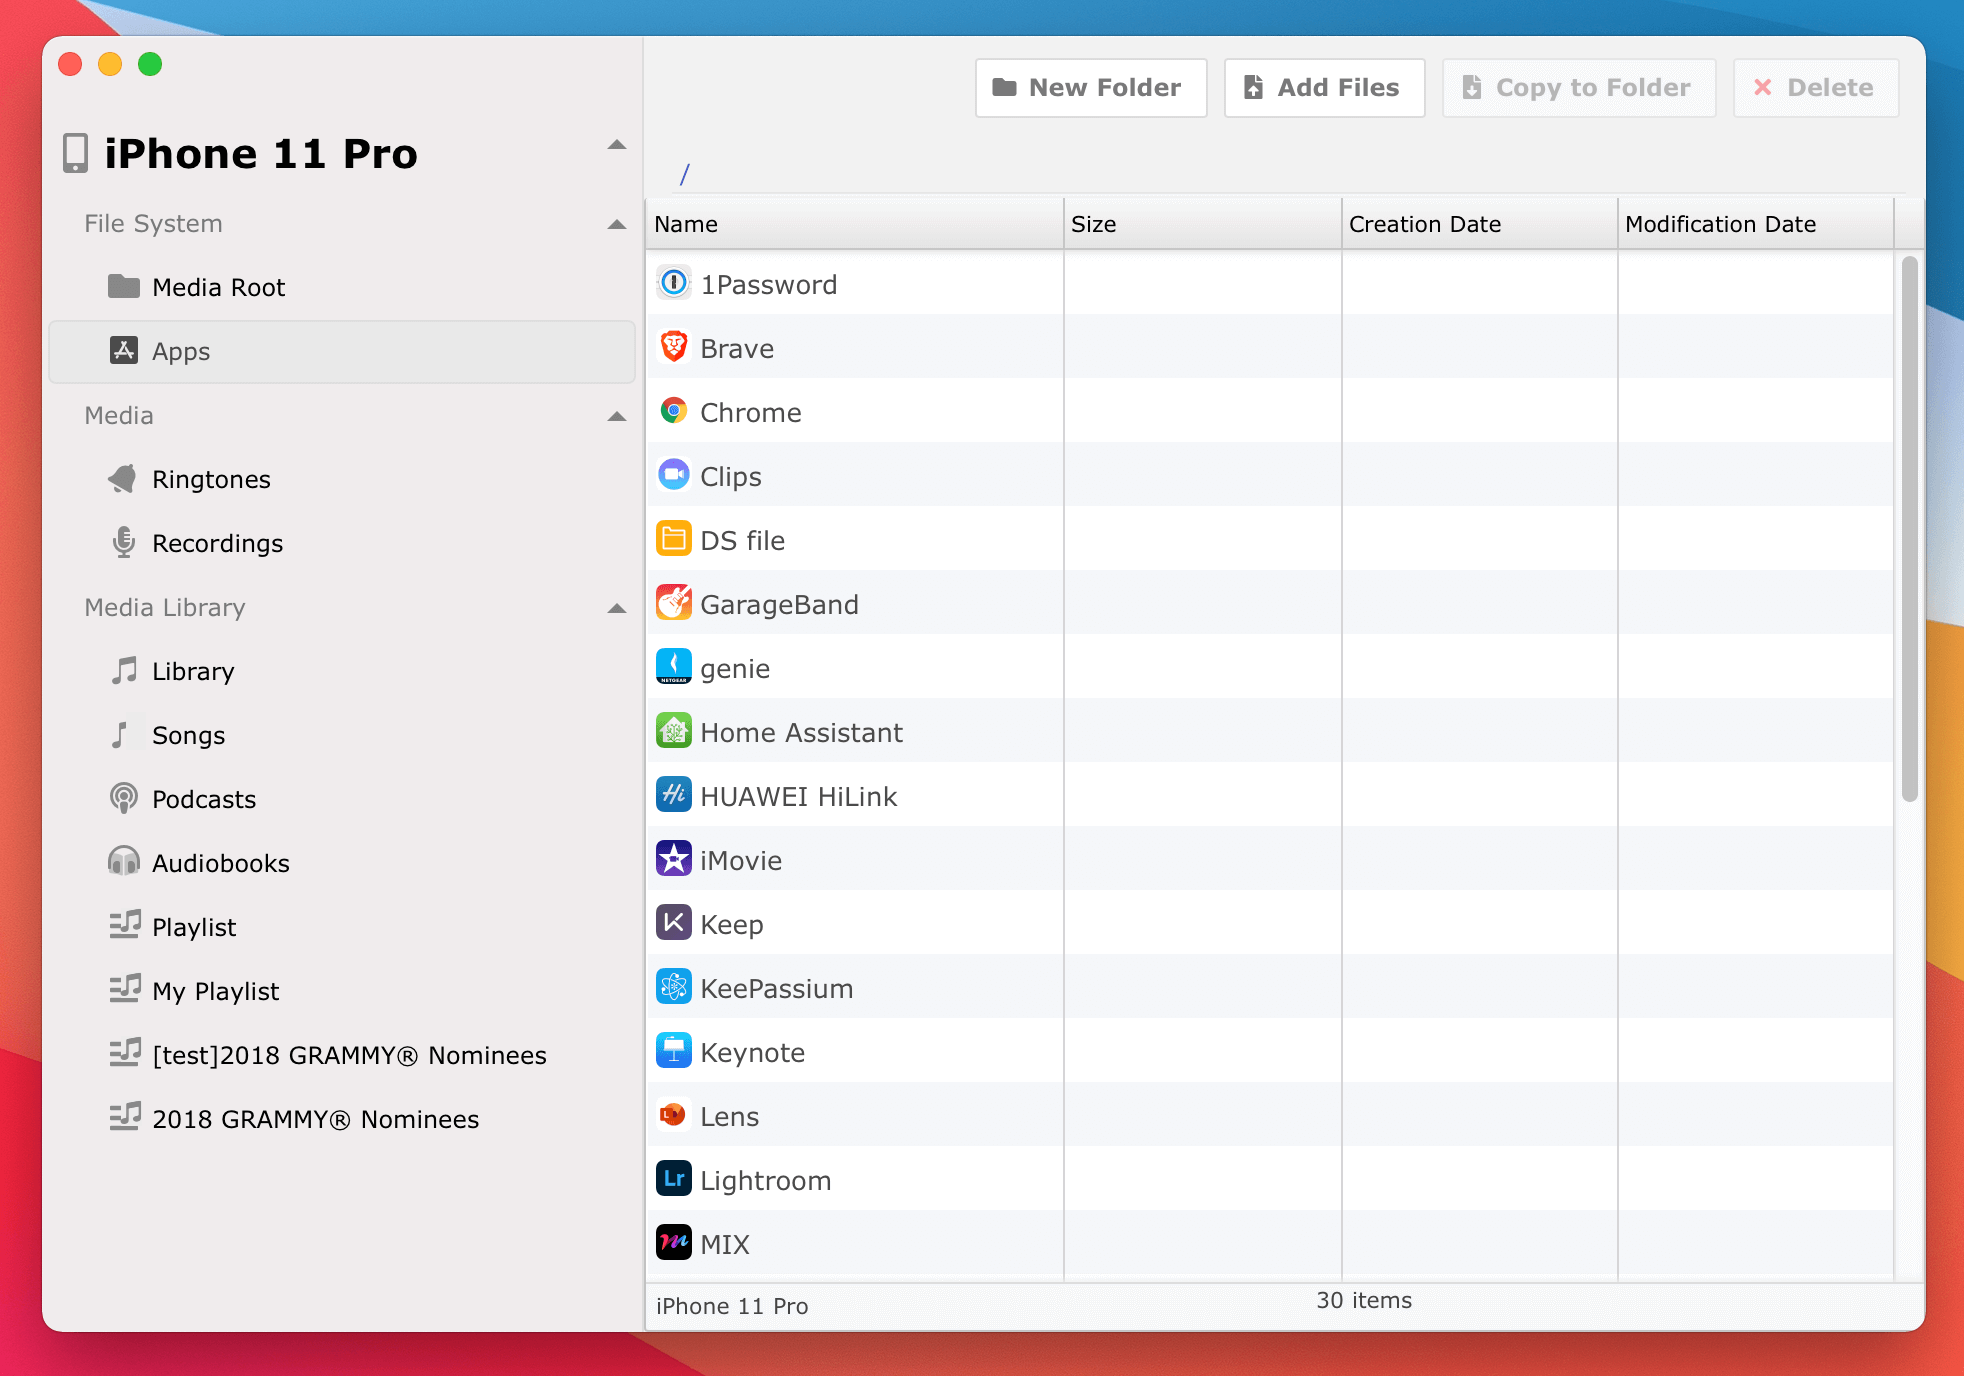
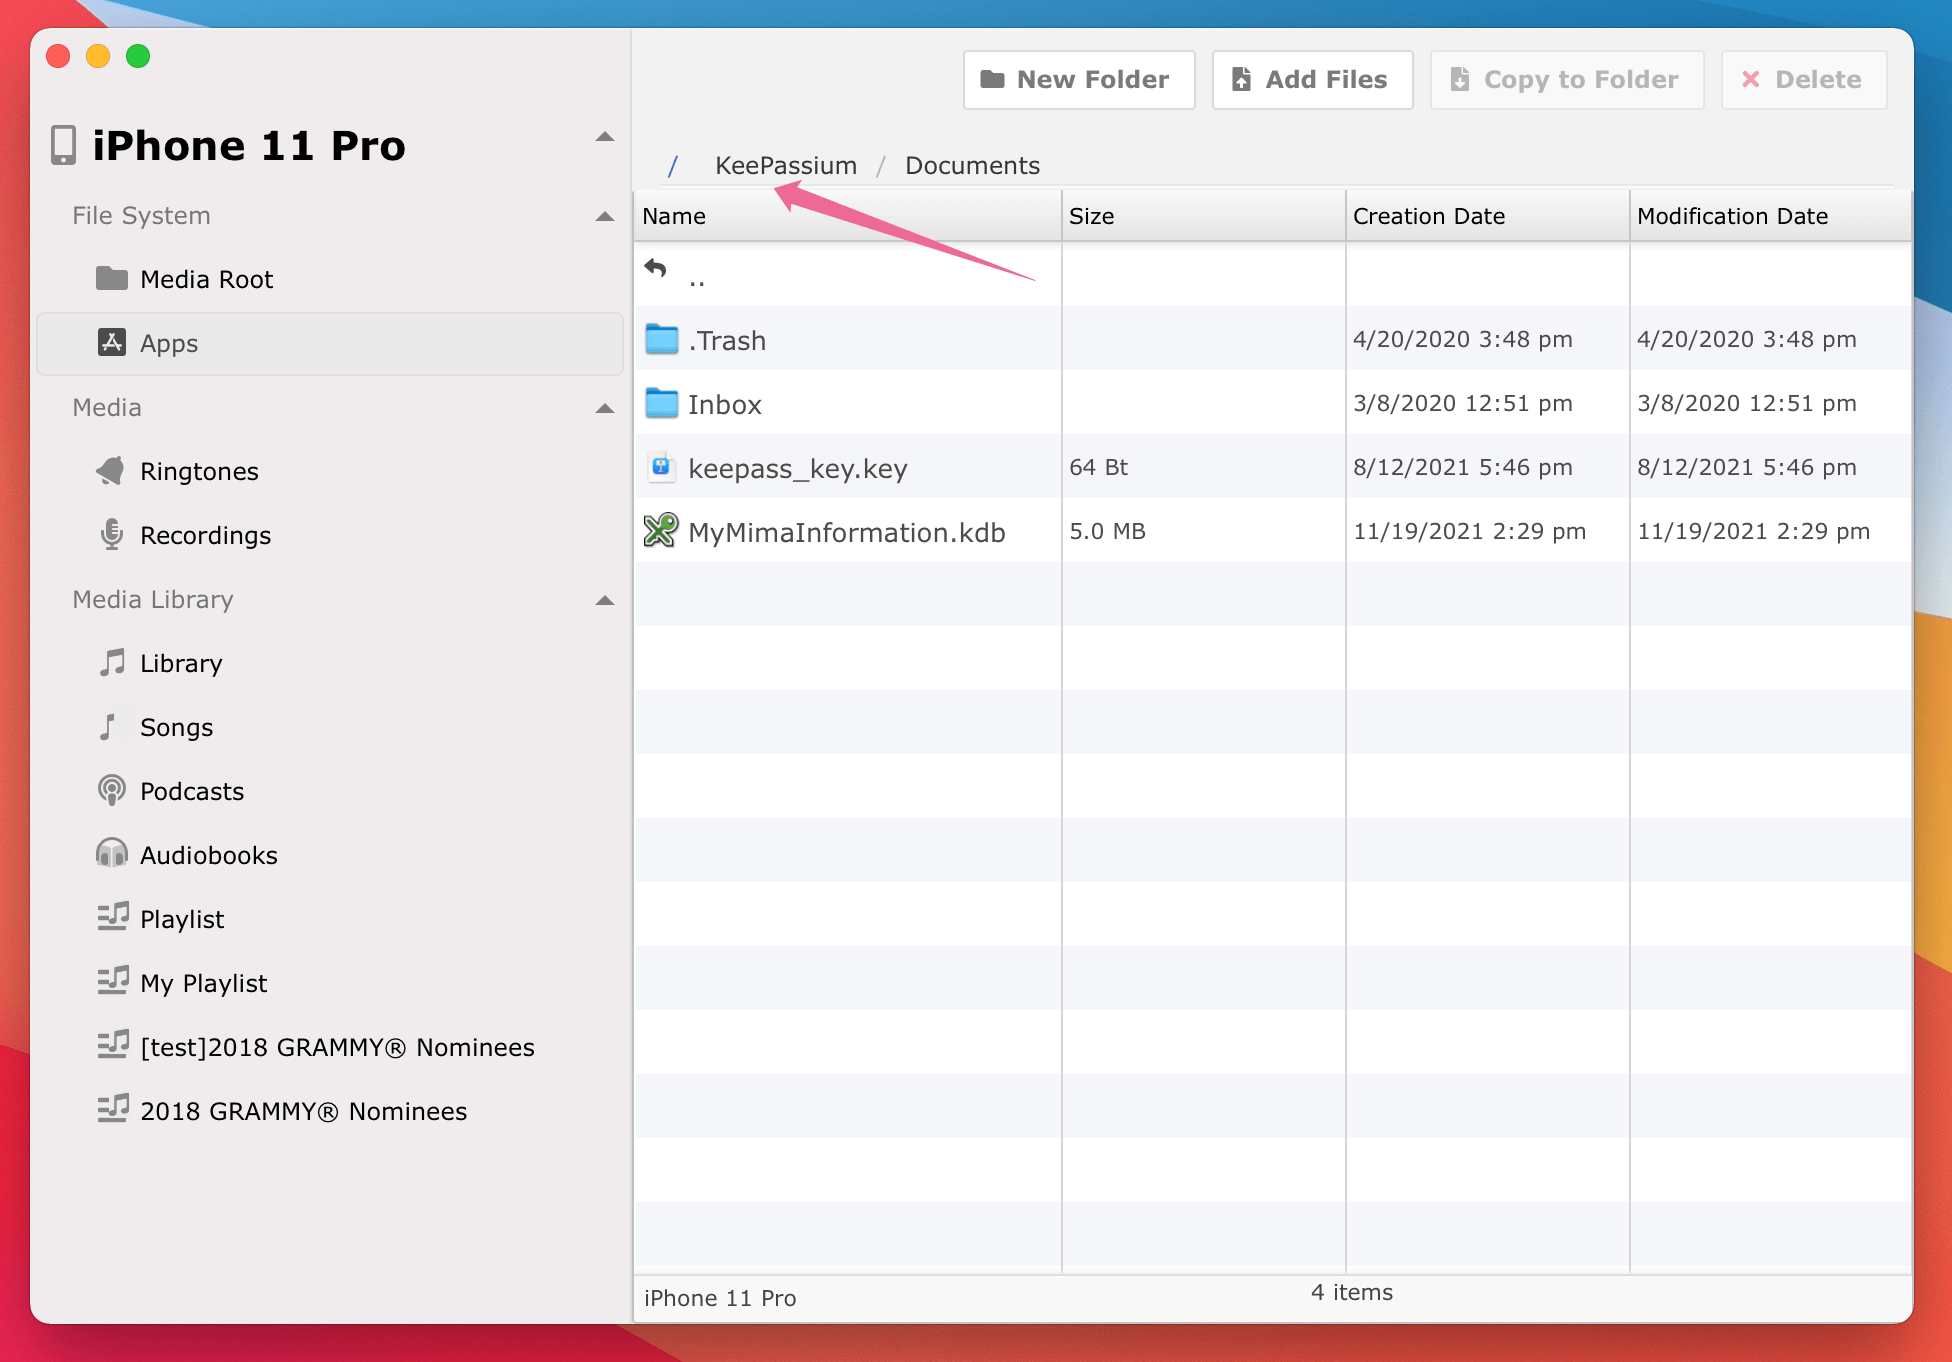
You will notice that the paths is different from "Media Root" files, the app name is not clickable because the root of an app is actually the Documents folder but not the app itself.
( * If no App listed here, please try to disconnect your iPhone and reconnect it again.* )
No matter in the files view or the apps view, you only need to select the desired folder and file, then click the "Copy to Folder" button or select "Copy to Folder..." from the right-click menu, then choose the location on Mac computer and confirm to complete the transfer.
In the same way, decide the location on iPhone to put the files in, then click "Add Files..." button or select "Add Files..." from the right-click menu, choose the folders and files on mac computer and confirm to finish copy files to iPhone. Another way to copy files of mac computer to iPhone is, select the folders and files in Finder, and copy it clipboard, go back to iCopyAssistant and choose "Paste" from the right-click menu to finish the transfer.
iPod, iPhone, iPad, iTunes, and Mac are registered trademarks of Apple, Inc. IMT Studio has no commercial association with Apple, Inc. or its products. Copying of music is subject to any applicable.